Homemade Vanilla Syrup Recipe for Coffee & Desserts
If you love the warm, comforting taste of vanilla, learning how to make vanilla syrup at home is one of the easiest ways to upgrade your coffee, desserts, and drinks. Store-bought versions are often loaded with artificial flavoring and preservatives, but homemade vanilla syrup takes just a handful of ingredients and about an hour of mostly hands-off time. In this article, we’ll walk through everything you need to know about making vanilla syrup at home, including ingredients, step-by-step instructions, and tips for getting the best results.
Why Make Vanilla Syrup at Home?
Vanilla syrup is incredibly versatile. You can drizzle it into your morning latte, stir it into iced tea, pour it over pancakes or waffles, mix it into cocktails, or use it to sweeten homemade lemonade. While you can find vanilla syrup at most grocery stores or coffee shops, making it yourself gives you full control over the ingredients, the sweetness level, and the intensity of the vanilla flavor.
Another major benefit is cost. A small bottle of flavored syrup from a specialty store can be surprisingly expensive, especially if you use it often. By making your own batch, you get a much larger quantity for a fraction of the price, and you can customize it to your exact taste preferences.
Ingredients You’ll Need
This recipe uses simple pantry staples and produces a generous batch of syrup. Here’s what you’ll need:
- 200 g (about 1 cup) granulated sugar
- 150 ml (about 2/3 cup) water
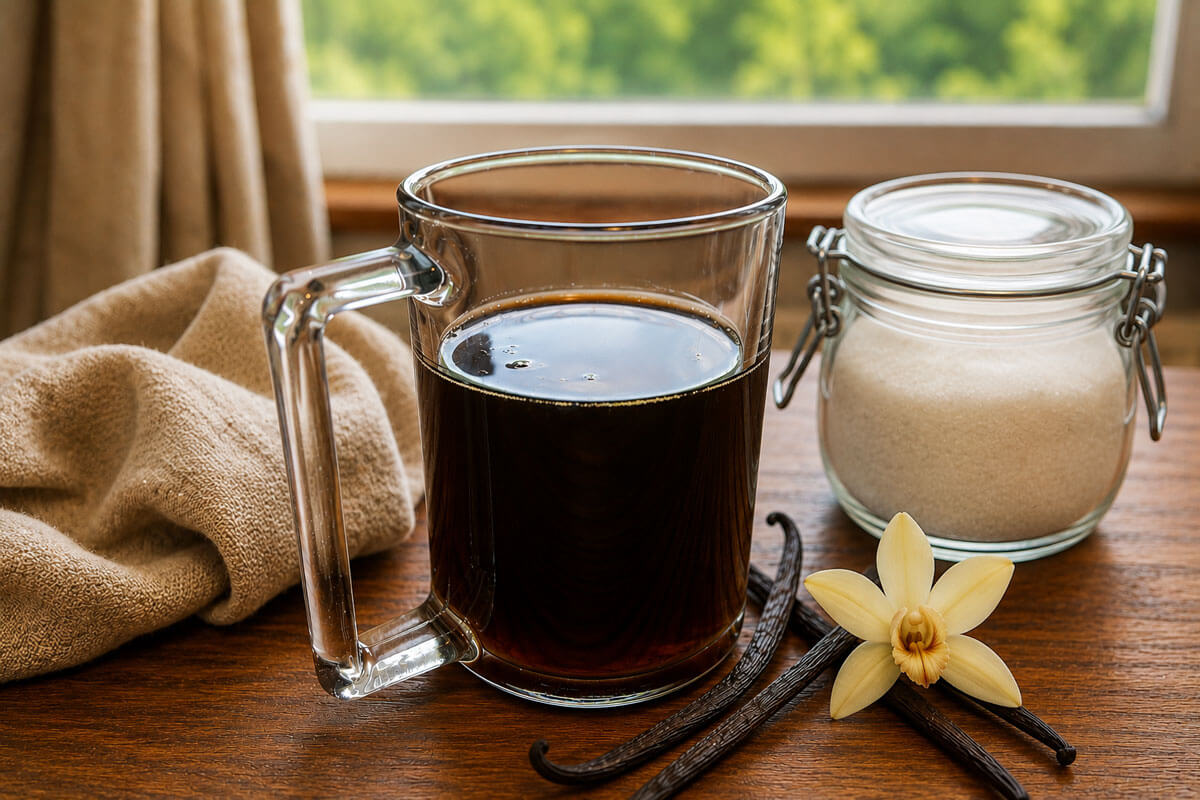
- Approximately 6 g ground vanilla, or 2 vanilla beans (pods)
That’s it. No artificial extracts, no preservatives, and no complicated equipment. Whether you choose ground vanilla or whole vanilla beans depends on what you have on hand and the texture you prefer in your final syrup, which we’ll discuss more below.
Step-by-Step Instructions for Vanilla Syrup
Step 1: Combine the Ingredients
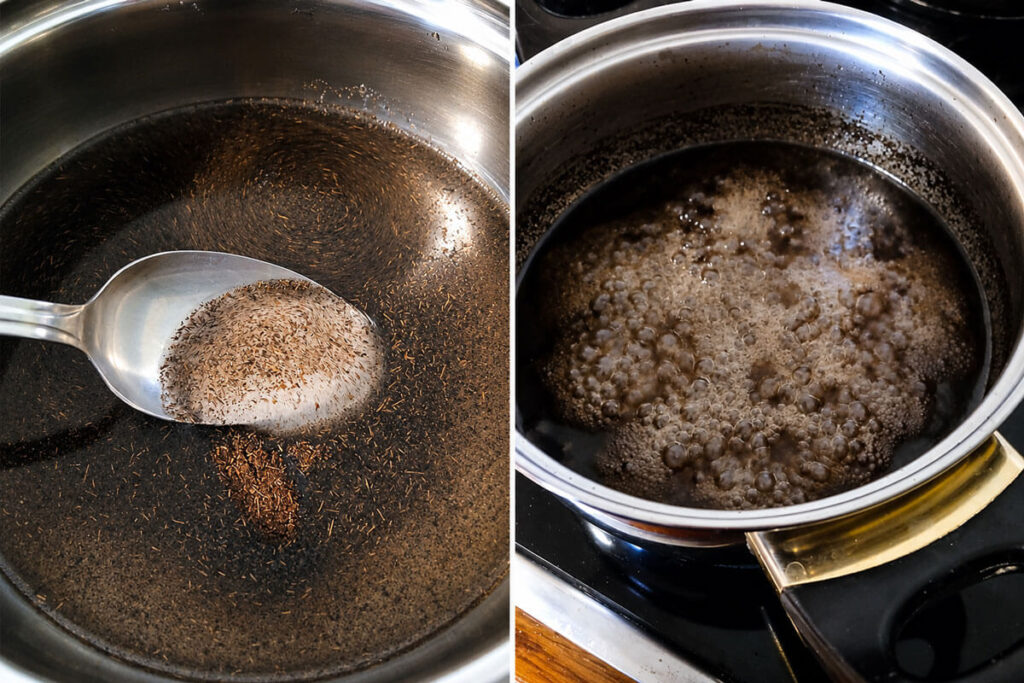
Start by adding the sugar and water to a small saucepan.
If you’re using vanilla beans rather than ground vanilla, this is the most important step for getting maximum flavor. Take a sharp knife and slice each vanilla bean lengthwise down the middle. Then, using the back of the knife or a small spoon, scrape out all the tiny seeds and paste from inside the pod. Add both the scraped seeds and the empty pod halves to the saucepan.
This step matters more than it might seem. If you simply toss the whole vanilla bean into the pot without splitting it open, the aromatic compounds trapped inside won’t release properly into the syrup. Scraping out the seeds exposes the most flavorful part of the bean directly to the liquid, allowing the syrup to develop a much richer, more authentic vanilla taste.
If you’re using ground vanilla instead, simply add it directly to the sugar and water mixture in the saucepan and give everything a quick stir.
Step 2: Bring to a Boil and Simmer
Place the saucepan over medium heat and bring the mixture to a boil. Once it reaches a boil, reduce the heat slightly and let it simmer for about 10 to 15 minutes. Stir occasionally during this time to prevent the sugar from sticking or burning at the bottom of the pan.
During this simmering period, the sugar will fully dissolve into the water, creating a syrupy consistency, while the heat helps extract and infuse the vanilla’s natural oils and aromatic compounds into the liquid. The longer it simmers, the more concentrated and fragrant the vanilla flavor becomes, so don’t rush this step.
Step 3: Remove from Heat and Let It Cool
Once the simmering time is up, remove the saucepan from the heat. Now comes an important part of the process: letting the syrup rest and cool for about 30 minutes. During this resting period, the vanilla continues to steep in the warm liquid, similar to how tea continues to develop flavor as it steeps. This extra infusion time helps deepen the overall vanilla aroma and taste of the finished syrup.
Resist the urge to strain it immediately after removing it from the heat. Patience during this cooling stage pays off in a more flavorful final product.
Step 4: Strain the Syrup
After the syrup has cooled for about 30 minutes, it’s time to strain it. Use a fine-mesh strainer to remove the vanilla bean pods (if used) and any larger bits of vanilla.
Here’s a crucial tip: don’t let the syrup cool down completely before straining. If the syrup becomes too cold, it thickens significantly and becomes much harder to push through a strainer. Straining while the syrup is still warm (but not boiling hot) makes the process much faster and easier, and you’ll get a cleaner result with less mess.
Step 5: Strain Again if Needed (Especially with Ground Vanilla)
If you used ground vanilla rather than whole beans, you’ll likely notice that a single straining isn’t enough to achieve a completely smooth, homogeneous syrup. Ground vanilla tends to leave behind tiny particles that can pass through a standard strainer on the first pass.
If you prefer a perfectly smooth syrup with no visible specks, strain it a second or even third time through a fine-mesh strainer or a piece of cheesecloth.
That said, some people (myself included) actually enjoy a bit of visual texture in their vanilla syrup. The tiny flecks of vanilla floating in the liquid serve as a nice visual reminder of the real vanilla used to make it, and they don’t affect the taste in any negative way. If this appeals to you, feel free to strain just once and let those small vanilla bits remain.
One more thing to keep in mind: even after straining, if the syrup is still warm, some of the finer vanilla particles may naturally settle at the bottom of the jar or bottle as it cools completely. This is completely normal and doesn’t mean anything went wrong. Simply give the bottle a gentle shake or stir before using if you want the flecks distributed throughout rather than settled at the bottom.
A Note on Color: Ground Vanilla vs. Vanilla Beans
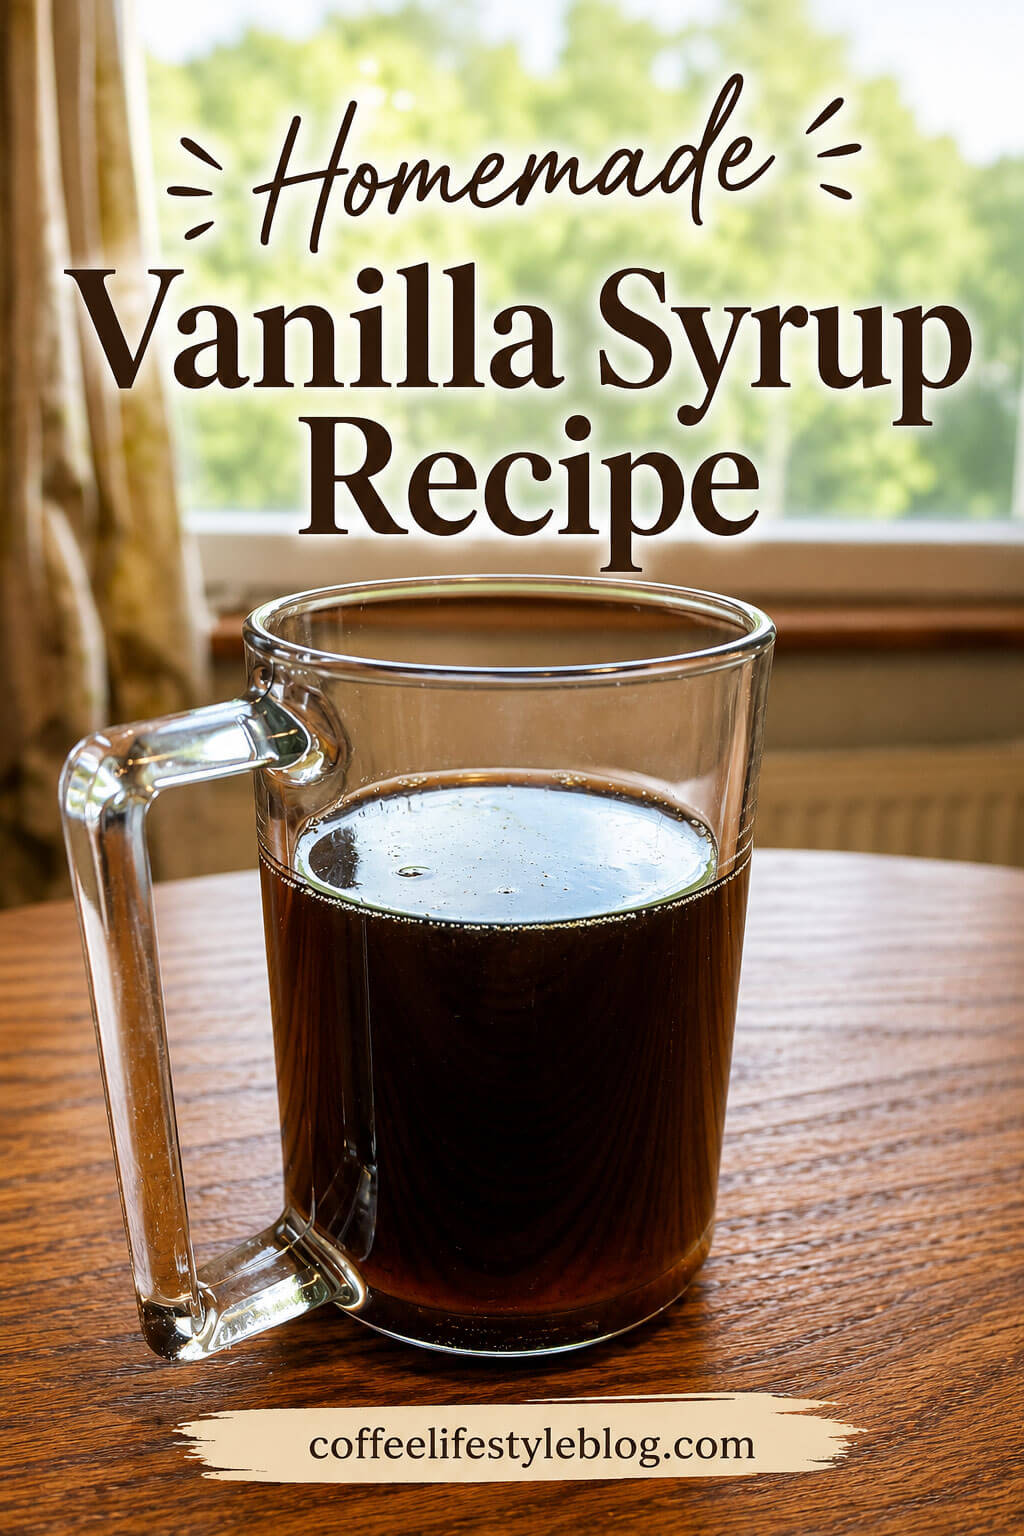
It’s worth knowing that your choice of vanilla will noticeably affect the color of your finished syrup. If you use ground vanilla, the syrup will turn out a deep, dark brown, almost black in some cases, due to the fine particles dispersed throughout the liquid. This doesn’t affect the taste, but it does give the syrup a much bolder, darker appearance.
If you prefer a lighter, more golden-colored syrup, vanilla beans are the better choice. Since the pods are removed during straining and only the scraped seeds remain in the liquid, the syrup stays much lighter in color while still delivering rich vanilla flavor and visible specks of vanilla seed.
So if color matters to you, for example, if you want your syrup to look more elegant in a latte or cocktail, opt for vanilla beans over ground vanilla.
Storage Tips
Once your homemade vanilla syrup has cooled completely, transfer it to a clean, airtight glass bottle or jar. Store it in the refrigerator, where it should keep well for several weeks. Because this recipe doesn’t include any preservatives, refrigeration is essential to maintain freshness and prevent spoilage.
Before each use, give the bottle a quick shake, especially if you used ground vanilla and noticed some settling at the bottom.
Ways to Use Your Vanilla Syrup
Now that you’ve mastered making vanilla syrup at home, here are some delicious ways to put it to use:
- Stir a tablespoon into your morning coffee or espresso for an instant vanilla latte
- Mix into iced tea or lemonade for a refreshing summer drink
- Drizzle over pancakes, waffles, or French toast instead of regular syrup
- Add to homemade whipped cream for an extra layer of flavor
- Use as a sweetener in cocktails like a vanilla old fashioned or espresso martini
- Swirl into yogurt, oatmeal, or smoothies for a touch of sweetness and warmth
Final Thoughts
Making vanilla syrup at home is a simple, rewarding kitchen project that requires minimal ingredients and effort but delivers a noticeably better flavor than most store-bought alternatives. Whether you choose to use vanilla beans for maximum aroma or ground vanilla for convenience, the key steps remain the same: combine, simmer, rest, and strain. With a little patience, especially during the resting and straining stages, you’ll end up with a richly flavored syrup that elevates your favorite drinks and desserts.
Once you try this recipe, you may find it hard to go back to anything from a bottle. Give it a try, experiment with the texture and straining method that suits your taste, and enjoy the rich, homemade flavor of real vanilla in everything you make.