The Easiest Homemade Caramel Syrup Recipe
Making caramel syrup at home is one of those kitchen skills that sounds intimidating but turns out to be surprisingly simple — and the results are far better than anything you can buy at the store. Whether you want to drizzle it over ice cream, stir it into your morning coffee, or use it as a topping for pancakes and waffles, homemade caramel syrup delivers a rich, buttery depth of flavor that store-bought versions just can’t match.
In this guide, you’ll learn everything you need to know about making caramel syrup at home: the ingredients, the step-by-step process, what to watch out for, and how to use your finished syrup.
Why Make Caramel Syrup at Home?
There are plenty of good reasons to skip the store-bought bottle and make your own:
- Better flavor. Homemade caramel syrup has a complex, toasty sweetness that comes from real caramelization — a chemical transformation you simply can’t fake with artificial flavoring.
- Fewer ingredients. Store-bought syrups often contain preservatives, corn syrup, artificial colors, and stabilizers. When you make it yourself, you control exactly what goes in.
- It’s cheaper. Three pantry staples — sugar, water, and heavy whipping cream — cost a fraction of a specialty bottle.
- It’s satisfying. Watching plain white sugar melt, bubble, and transform into a glossy amber liquid is genuinely one of the most satisfying things you can do in the kitchen.
What You Need: Ingredients for the Simplest Homemade Caramel Syrup
This recipe is intentionally minimal. No butter, no corn syrup, no thermometer required.
Makes approximately 1 cup of caramel syrup
- 200 g (1 cup) granulated sugar
- 3 tablespoons water
- 200 ml (¾ cup) heavy whipping cream — not light cream or half-and-half
Important: Use heavy whipping cream (at least 30% fat content), not cooking cream or light cream. The fat content is what gives your caramel syrup its smooth, luxurious texture. Lower-fat alternatives can cause the syrup to break or remain too thin.
How to Make Caramel Syrup at Home: Step-by-Step
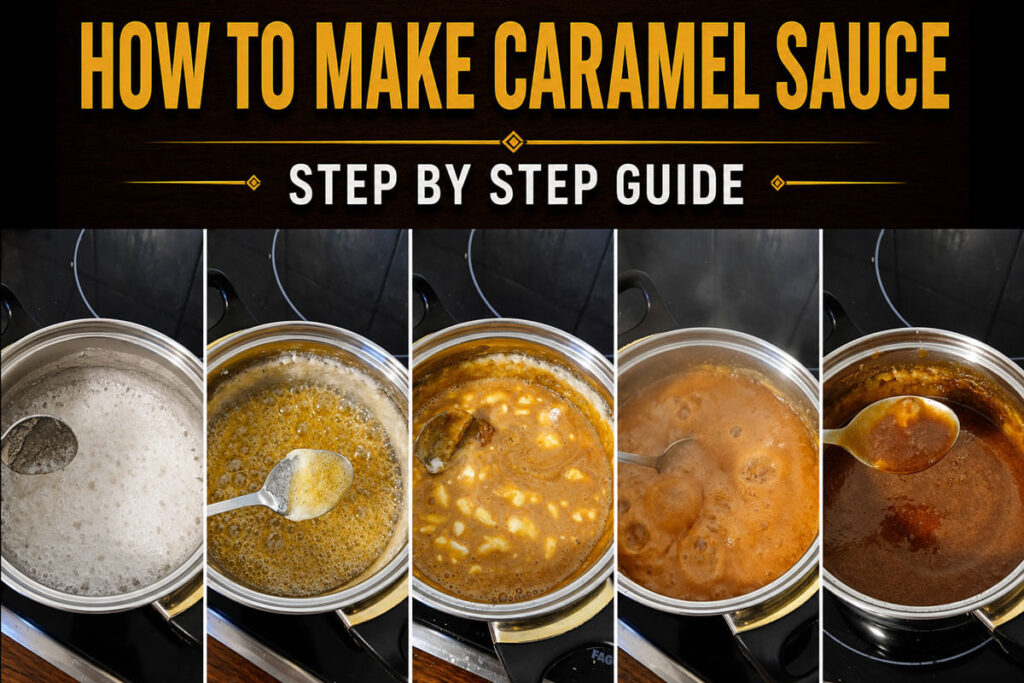
Step 1: Combine the Sugar and Water
In a heavy-bottomed saucepan — stainless steel or light-colored pans work best so you can see the color change — combine the sugar and water. Stir gently just to mix them together.
Step 2: Cook the Sugar Syrup Until Golden Amber
Place the pan over medium to medium-high heat. As the sugar begins to melt, stir gently from time to time to help it melt evenly and prevent it from burning. Keep a close eye on it, as caramel can go from perfectly golden to burnt very quickly.
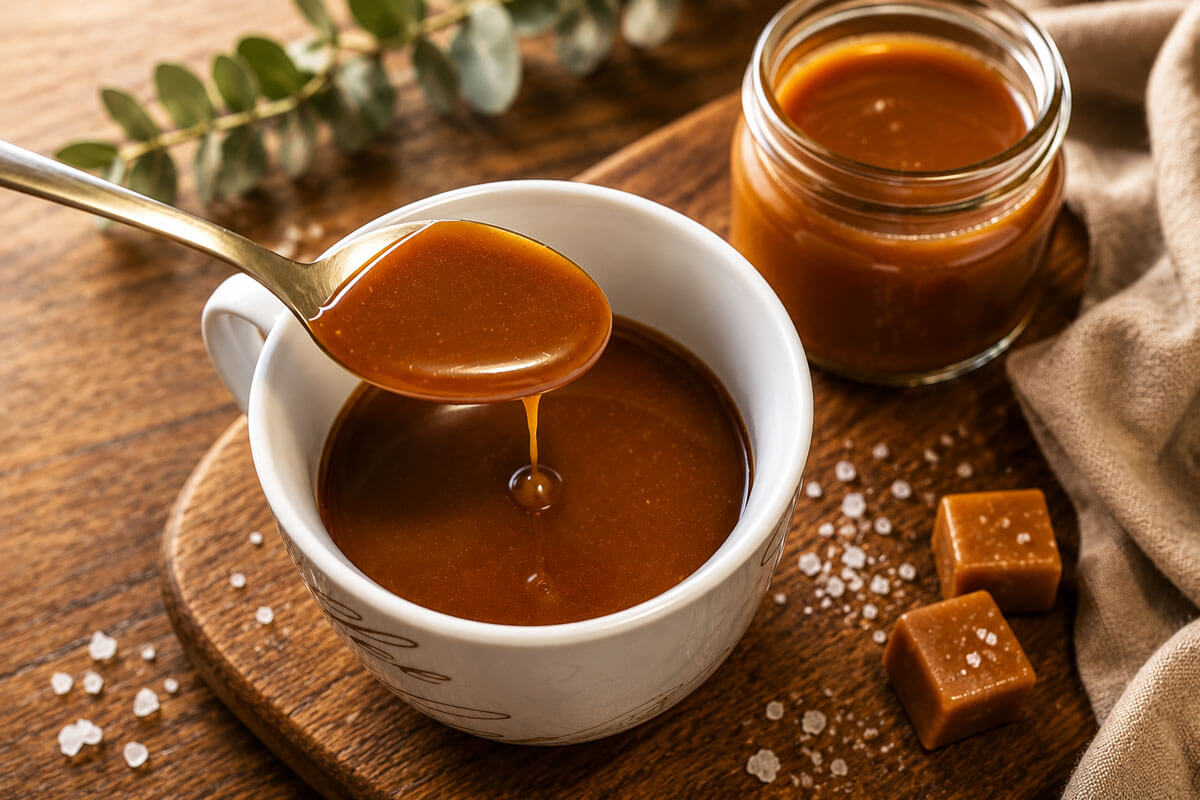
Let the mixture come to a boil. It will first look clear and bubbly, then gradually begin to turn yellow, then a deeper gold. Keep a close eye on it — this stage moves quickly. You’re looking for a deep amber color, similar to dark honey or aged whiskey. This typically takes 6 to 8 minutes depending on your stovetop.
Watch carefully: The difference between perfect caramel and burnt caramel is a matter of seconds. Burnt caramel turns very dark brown and smells bitter. If that happens, unfortunately you’ll need to start over.
Step 3: Remove from Heat and Add the Cream
Once your caramel reaches that beautiful golden-amber color, remove the pan from the heat immediately.
Now comes the exciting part: carefully pour in the heavy whipping cream. Be ready — it will bubble up vigorously and release a lot of steam. This is completely normal. Just stand back slightly and pour steadily.
Step 4: Stir and Return to Heat
Use a heatproof spatula or whisk to stir the mixture thoroughly. The cream and caramel will start coming together, but you may notice some lumps or hardened bits of sugar at this stage — that’s okay. Return the pan to the stovetop over medium-low heat and continue stirring constantly until the syrup becomes completely smooth, uniform, and glossy. This usually takes 2 to 4 minutes.
Step 5: Cool and Store
Remove from heat and let the syrup cool in the pan for a few minutes, then transfer it to a clean glass jar or bottle. It will thicken slightly as it cools. Store it in the refrigerator for a few days. I can’t say exactly how long it lasts beyond that, because in our house it always gets used up way too quickly! 🙂
Reheat gently in the microwave or in a small saucepan when you want to use it.
A Note About Sugar Crystals (Don’t Panic!)
One thing that surprises many first-time caramel makers: sugar may crystallize on the sides of your pan and on your stirring spoon. You might see white, grainy sugar appearing and hardening during the cooking process.
Don’t be alarmed. This is a common occurrence when making caramel syrup at home, and it has no effect on the taste or quality of your finished syrup. The syrup itself will still be perfectly smooth and delicious. The only downside is that cleanup can be a little trickier — soaking the pan and spoon in hot water for a few minutes will dissolve those sugar crystals right off.
Tips for Perfect Caramel Syrup Every Time
- Use a light-colored or stainless steel pan. A dark pan makes it hard to judge the color of the caramel accurately.
- Don’t walk away. Once the sugar starts to color, stay at the stove. The amber stage arrives quickly.
- Room temperature cream is better. Cold cream added to hot caramel creates more dramatic bubbling and splattering. If you have time, let the cream sit out for 15–20 minutes before you start.
- Don’t rush the cooking time. Medium heat gives you more control than high heat. High heat speeds things up but increases the risk of burning.
- Taste and adjust. Once cooled slightly, taste your syrup. If it tastes slightly bitter, it may be a touch over-cooked — next time, pull it off the heat a shade earlier.
How to Use Your Homemade Caramel Syrup
Once you’ve mastered making caramel syrup at home, you’ll find yourself reaching for it constantly. Here are some of the best ways to use it:
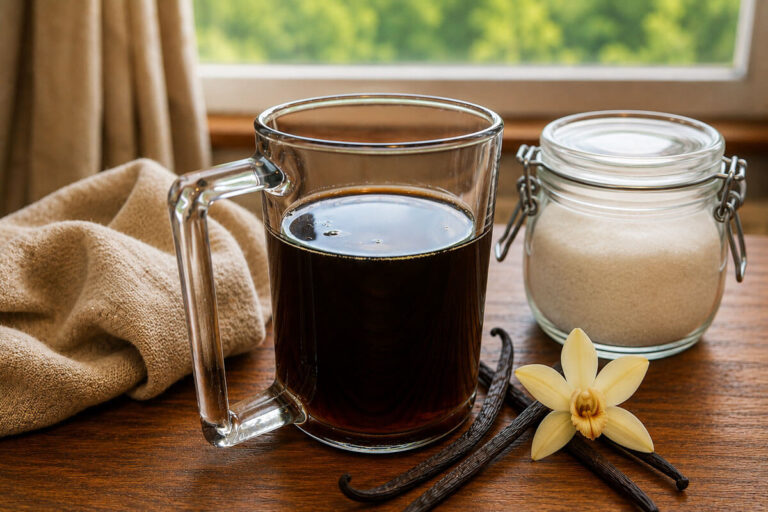
- Coffee and lattes: Stir a tablespoon into hot coffee, cappuccino, or cold brew for a homemade caramel macchiato effect.
- Ice cream topping: Drizzle warm over vanilla or chocolate ice cream. Add a pinch of flaky sea salt for a salted caramel version.
- Pancakes and waffles: Use in place of maple syrup for a richer, more indulgent breakfast.
- Milkshakes: Blend into vanilla milkshakes or use as a drizzle inside the glass.
- Cheesecake or brownies: Pour over sliced cheesecake or swirl into brownie batter before baking.
- Oatmeal: A small drizzle transforms plain oatmeal into something genuinely exciting.
Frequently Asked Questions
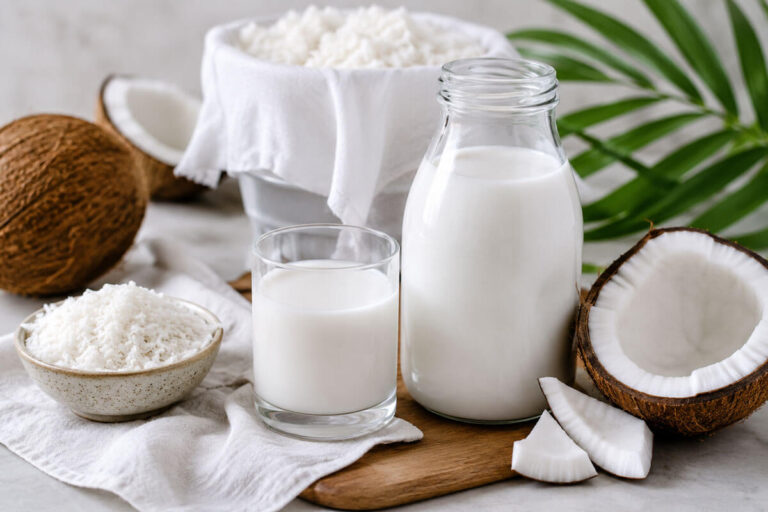
Can I make caramel syrup without cream? Yes — you can substitute the cream with full-fat coconut milk for a dairy-free version. The flavor will be slightly different but still delicious.
How do I know when the caramel is the right color? Think dark honey or light amber — not pale gold, and not dark brown. If you’re unsure, err on the slightly lighter side. You can always cook it a few seconds longer.
Can I double the recipe? Absolutely. The technique stays the same; just use a larger saucepan to accommodate the bubbling when you add the cream.
Final Thoughts
Homemade caramel syrup is one of those recipes that feels like a proper kitchen achievement the first time you make it — and then becomes second nature after that. With just three ingredients and about 15 minutes, you can have a glossy, deeply flavorful caramel syrup that elevates everything it touches. Whether you’re making it for a special dessert or just to have on hand in the fridge for coffee emergencies, this is a recipe worth having in your repertoire.
Now fire up that stove, and don’t take your eyes off the sugar.